Showing posts with label VSCode. Show all posts
Wednesday, March 7, 2018

How to install Visual Studio code on Ubuntu

Recently I presented a Webinar on ASP.NET Core on Linux. Here I have displayed how we can use Visual Studio Code a Free Open Source Editor from Microsoft to develop application. One of frequently ask question was How I can install Visual Studio Code on Linux. Since lots of People are using Ubuntu as Development Machine I thought it will be a good idea to write a blog post about how to install Visual Studio code on Linux(Ubuntu Machine).

So first thing we need to do it open a terminal in Ubuntu and then we need to type following command one by one.
curl https://packages.microsoft.com/keys/microsoft.asc | gpg --dearmor > microsoft.gpg
Install-Visual-Studio-Code-Ubuntu

Then you need to run the following command to move gpg file download via Curl to etc/apt folder.
sudo mv microsoft.gpg /etc/apt/trusted.gpg.d/microsoft.gpg
Install-Visual-Studio-Code-Ubuntu2-move-folder

Now, You need to run following command.
sudo sh -c 'echo "deb [arch=amd64] https://packages.microsoft.com/repos/vscode stable main" > /etc/apt/sources.list.d/vscode.list'
package-cache-insert-vscode-ubuntu-linux

After that, you need to run Apt-get Command to update package cache and Apt-get install command to install visual studio code.
sudo apt-get update
sudo apt-get install code
pakcage-install-visual-studio-code

That’s it. You are done with installing Visual Studio Code. You can find more information about different Linux flavors at following  link on Visual Studio code.

https://code.visualstudio.com/docs/setup/linux

Hope you like it. Stay tuned for more!!
Share:
Saturday, November 25, 2017

Video: How to use IIS Express with Visual Studio Code

Visual Studio Code is a Great Editor by Microsoft being Developed Open Source on Github and It is gaining lots of popularity and lots of Developers are using for creating applications in various languages. Their lots of features that are there for Developers and Still lots of features is not been explored or lots of useful extensions are not being explored. So I am creating few videos for explaining it’s feature and this video is one of that features.

IIS Express is a built-in web server for C# applications with Visual Studio and lots of Developers are using this. This video explains how we can use IIS Express with Visual Studio code. Please have a look at it and let me know how it was.


The plugin used in this video can be found at following location.
https://marketplace.visualstudio.com/items?itemName=warren-buckley.iis-express

And If you don’t know what is Visual Studio code then you find more about it at following location.
https://code.visualstudio.com/

Stay tuned for more!!.
Share:
Saturday, June 17, 2017

Code Navigation features in Visual Studio Code

Visual Studio Code is an open source, free, Cross-platform editor and I have been using it now more than the year. I just simply loved this editor. It’s a got lot of feature and there are some cool navigation features there. In this blog post, we are going to explore those navigation features.

Quick Open File Navigation Features(Ctrl+Tab):

If you press Ctrl + Tab then it will show all the open files in Visual Studio Code.

quick-file-navigation-feature

Go To Definition(F12):

If Language is supported in Visual Studio Code then you have that feature available just like have it in full Visual Studio IDE.  You can press F12 to go to definition and the same way you can also right click and select Go To Definition.

go-to-definition

Peek Definition(Alt + F12):

Peek Definition is working same as Go To Definition the only difference is it will load a windows inline and show. It is quite useful when you want to quickly see something. You can use this feature via pressing Alt+F12.

peek-definition

Open Symbol(Ctrl+T):

It also contains some Resharper like features you can go to any symbol via pressing Ctrl + T. Just type the first letter of a type you want to navigate to, regardless of which file.

open-symbol

Go To File(Ctrl + P):

You can also go to any file with Go To File feature of Visual Studio code via pressing Ctrl + P.   This quite useful when you have large code base.

go-to-file


There tons of other features available with Visual Studio code. So if you have not tried this editor I would highly recommend to try it. I’m sure you fall love in it. You can download Visual Studio code from the following location.

https://code.visualstudio.com/

Stay tuned for more!.
Share:
Wednesday, January 25, 2017

How to upload file with Express,Pug and Multer in Node.js

TL;DR;

In this blog post, We are going to learn how to upload a file with Express, Pug, and Multer in Node.js. In this blog post, we will learn how we can upload file with multer middleware in express framework with node.js

Creating Express App, Multer and other common code:

So here in for the demo purpose, we are going to use express application. So here is our package.json for express framework node.js application. It is created via the express generator. I have added Multer and PUG NPM instead of Jade.
{
  "name": "nodejsfileupload",
  "version": "0.0.0",
  "private": true,
  "scripts": {
    "start": "node ./bin/www"
  },
  "dependencies": {
    "body-parser": "~1.15.2",
    "cookie-parser": "~1.4.3",
    "debug": "~2.2.0",
    "express": "~4.14.0",
    "morgan": "~1.7.0",
    "multer": "^1.2.1",
    "pug": "2.0.0-beta6",
    "serve-favicon": "~2.3.0"
  }
}

Here in the above code, You can see that there are pug npm and multer npm. Once you do “NPM Install” it will install all the required NPM for the same. Now we are our standard express app ready and here’s how our structure looks in visual studio code.

node-js-structure-express-app-file-upload-node-js

What is Multer:

For those who don’t know what is Multer,

Multer is a node.js middleware for handling multipart/form-data, which is primarily used for uploading files. It is written on top of busboy for maximum efficiency.
It is a middleware that will help you handle multipart/form-data requests and you can upload the file with that middleware with some configuration code.You can find more information about Multer at - https://github.com/expressjs/multer

Common code for Multer:

Now once we are done with Installing node module, It’s time to write some common code for Multer middleware. Here in the above code, we are going to use the index.js router which is a default router for the express app.  The index.js code looks like following.
var express = require('express');
var router = express.Router();

//multer object creation
var multer  = require('multer')
var storage = multer.diskStorage({
    destination: function (req, file, cb) {
        cb(null, 'public/uploads/')
    },
    filename: function (req, file, cb) {
        cb(null, file.originalname)
  }
})

var upload = multer({ storage: storage })

/* GET home page. */
router.get('/', function(req, res, next) {
  res.render('index', { title: 'Express' });
});

router.post('/', upload.single('imageupload'),function(req, res) {
  res.send("File upload sucessfully.");
});

module.exports = router;

Here in the above code, you can see that first I’m creating a multer object with require syntax and then I have put some configuration with multer.diskstorage. Basically, It's said that we are going to store the uploaded files into public/uploads folder and the name of a file will be same which we uploaded. Then in post request, you can see that I have put “upload.single” which handle file upload with post request. And if it uploaded successfully, I’m sending a response back that file is upload successfully.

HTML/PUG code:

Following is an HTML code for the pug.
extends layout

block content
  h1= title
  p Welcome to #{title}
  form(method='post', enctype='multipart/form-data')
    input(type='file', name='imageupload')
    input(type='submit', name='uploadimage', value='Upload Image')

Here you can see I have a file upload control with multi-part data and form and submit button to make a post request.

Final Output:

Once you run this application in the browser it will look like following.

file-upload-node-js

That’s it. It’s pretty easy. Hope you like it. Stay tuned for more!.

You can find complete source code following example on Github at - https://github.com/dotnetjalps/NodeJsFileUpload
Share:
Thursday, January 19, 2017

My favorite Visual Studio code extension for Angular 2 Development

TL;DR;

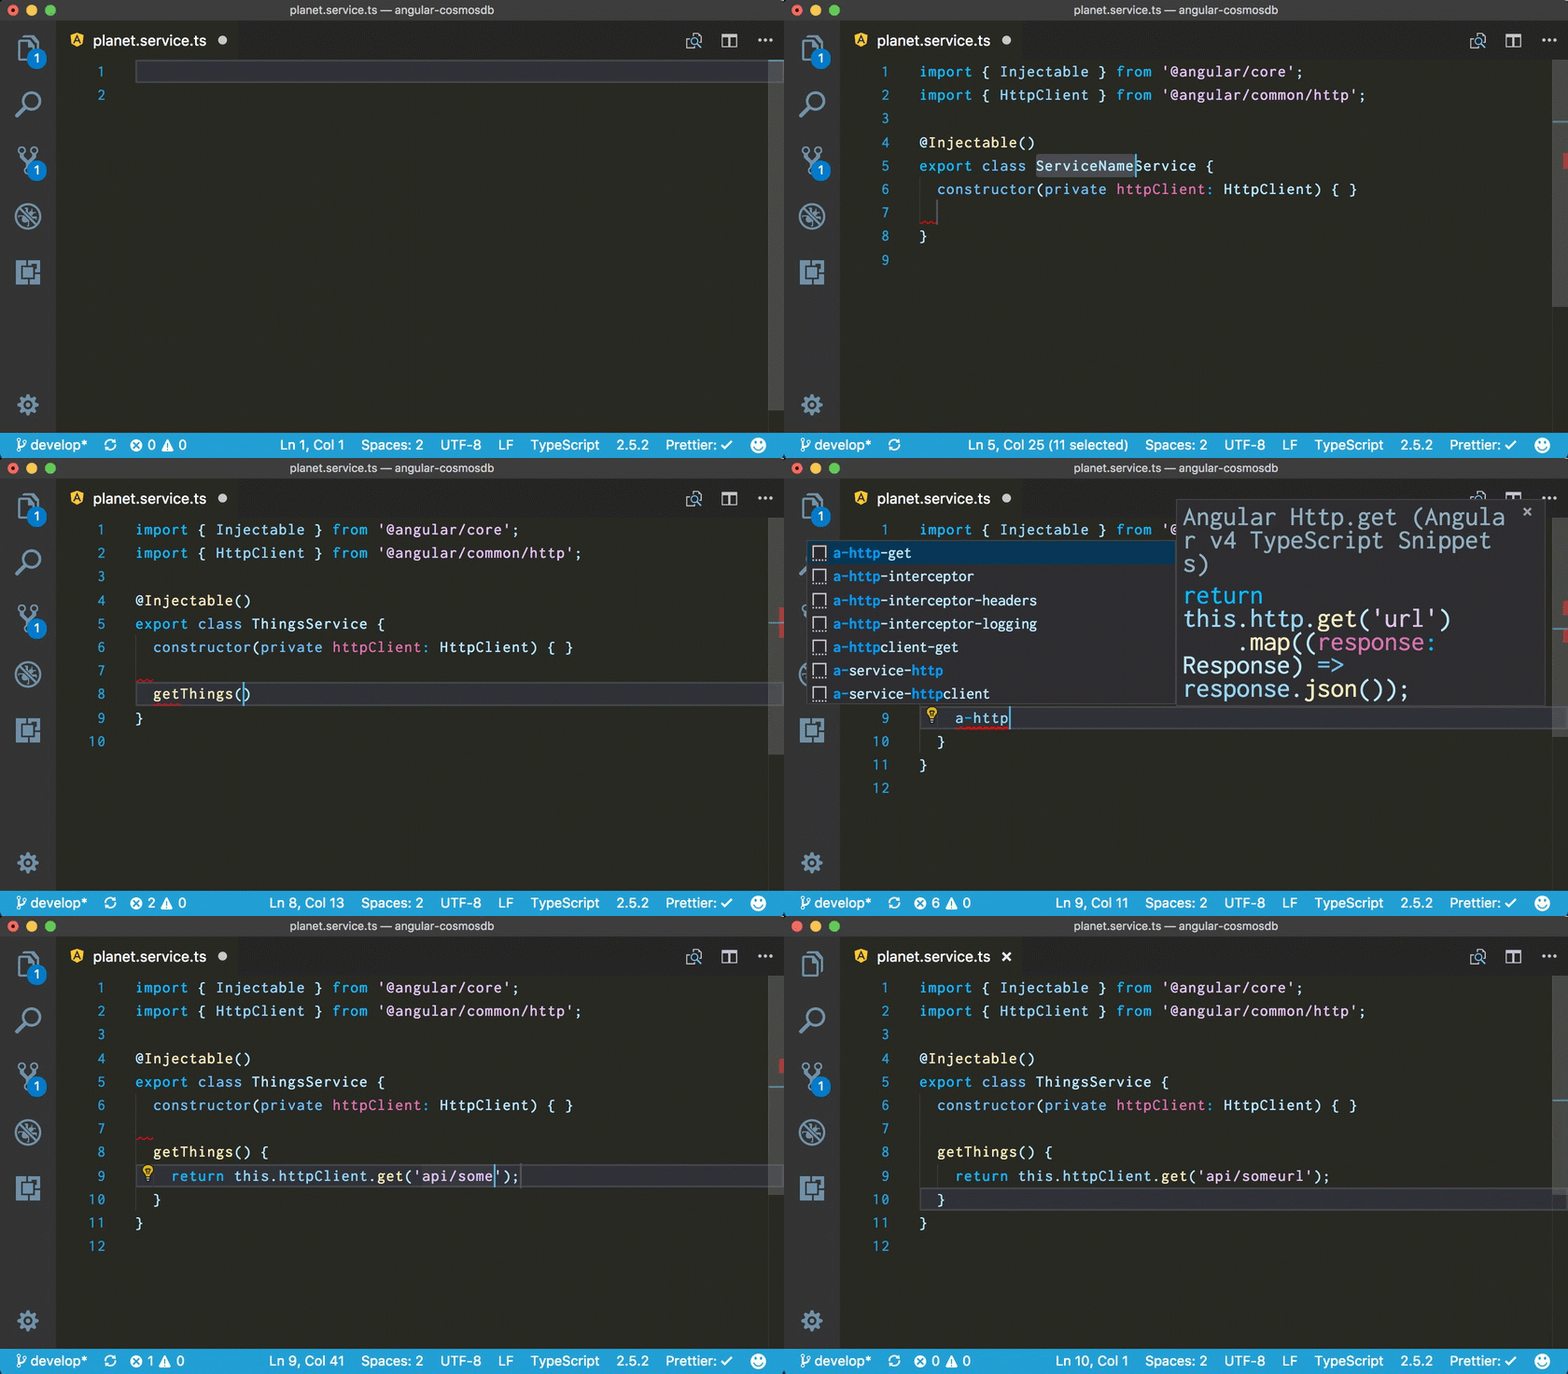
I have been using Visual Studio Code for quite a good amount time and I am loving it as a code editor. Recently I have started using it as my development editor for Angular 2 as it has recommended by the Angular 2 development team also. There are quite a few good extensions available in market place for the same. In this blog post, we are going to talk about my favorite extensions of Visual Studio Code for Angular 2 development.

My favorite extensions for Visual Studio Code for Angular 2 development:

Here is list of my favorite extension of Angular 2 Development.

Angular 2 TypeScript Snippets by John Papa:
When It’s come to Angular 2 development how we can forget John Papa. There is also a snippets extension created by him. You can find that at the following location.

https://marketplace.visualstudio.com/items?itemName=johnpapa.Angular2


There are plenty of snippets available from where you can create boilerplate code for Angular 2 like for example, You can create Angular 2 Component with ng2-component.

Angular VS Code TypeScript and HTML Snippets by Dah Wahlin:
This is also a code snippets extensions but here you get lot many code snippets available. You can find more about that extension at the following link.

https://marketplace.visualstudio.com/items?itemName=danwahlin.angular2-snippets

With this extension, you will get TypeScript extension as well as some of HTML snippets for binding of Angular 2  as well as some of the ngform and other snippets.

angular2-snippet for dahwahlin


Path Intellisense from Christian Kohler:
It is the plugin that autocompletes the path and provides Intellisense for the paths and it is a great extension and comes quite handy when you put different JavaScript and CSS files. You can find more about it at the following location.

https://marketplace.visualstudio.com/items?itemName=christian-kohler.path-intellisense


Auto Import by Steoates:
It is an auto import extension for everything. It finds, parses and provide code actions and code completion for all available imports. It works great with TypeScript and even for TSX  which used for react.js with TypeScript. You can find more information about that extension at the following link.

https://marketplace.visualstudio.com/items?itemName=steoates.autoimport


It helps so much when you want to import services and other files into components with Angular2. This is my most favorite extension for Angular 2 Development.

HTML CSS Class Completion by Zingd:
It is a great extension for applying CSS class name for HTML class attribute based on your CSS files available in the project. You can find more about that on the following location.

https://marketplace.visualstudio.com/items?itemName=Zignd.html-css-class-completion


That’s it. This all extensions are my favorite extension for Angular2.What are your favorite extensions that make your life easy? Please put your favorites in this blog post comments. Hope you like it. Stay tuned for more!!
Share:
Saturday, October 22, 2016

Some of the important shortcuts for Visual Studio Code

Visual studio code is a Great editor for the web development. I have started using it and I’m loving it more and more. For any editor shortcut keys are important you can do lots more without moving to mouse with a shortcut. In this blog post, we are going to learn about shortcuts for Visual Studio Code.

Ctrl + P:  Goto File, You can move to any file of open solution/folder in Visual Studio code.
Ctrl + Shift + O : Goto Symbol, You can move to any function, variable or symbol of the current file.
F12 : Goto Definition – You can move to the definition of symbol or function with this command
Ctrl + G : Goto line, You can move to particular line number
Alt + Left: Navigate  between files goes to the left side of files
Alt+ Right: Navigate between files goes to the right side of files
Alt + F12: Peek definition, You can see preview of code for a function
Ctrl + Shift + D: Debug folder or file.
Ctrl + Shift + F: Search in all files.
Ctrl + Shift + H: Replace in all the files
Ctrl + T: Go to symbol in all files
Ctrl + B : Toggle Slider Bar
Ctrl + 1: Focus Left Editor
Ctrl+ 2: Focus Right Editor
F2: Rename symbol and function
Ctrl + Shift + X : Goto Extension Window
Ctrl + J: Toggle Panels
Ctrl + ` : Open terminal in VSCode
Ctrl + Shift + U: Show output Window
Ctrl + Shift + M : Show problems, Where you can see all the problems related to code and warnings.

You can find all the shortcuts of Visual Studio code from the following link.
https://code.visualstudio.com/docs/customization/keybindings

That’s it. Hope you like it. Stay tuned for more!!
Share:

Opening ASP.NET Core Visual studio solution in Visual Studio code

In this blog post, We are going to see how we can open an ASP.NET Core solution in visual studio code.  So what we are waiting for. First, we are going to create an ASP.NET Core web application like below.

ASPNETCoreApplication

Then select web application like below.

ASPNETCoreWebApplication

Now once you created Ok it will create an ASP.NET Core Web Application like below.

SolutionExplorer

Now let’s run that application to make sure that its work fine.

edgeASPNETCoreApplication

Open ASP.NET Core Solution in Visual Studio Code:

For those who don’t know What is Visual Studio code is here is the definition from the Wikipedia.

Visual Studio Code is a source code editor developed by Microsoft for Windows, Linux and macOS. It includes support for debugging, embedded Git control, syntax highlighting, intelligent code completion, snippets, and code refactoring
It is a cross-platform open source editor for writing code from Microsoft. You can find more information about that from the following links.

https://en.wikipedia.org/wiki/Visual_Studio_Code
https://code.visualstudio.com/

Now we are going to see how we can open the same application with Visual Studio code. But before doing that we need to make sure that the computer have .NET Core installed on your machine and Also make sure that Visual Studio Code C# support is there in Visual Studio code. You can find more about that from the following link.

https://code.visualstudio.com/Docs/languages/csharp
https://code.visualstudio.com/docs/runtimes/dotnet

Since Visual Studio Code is not a full fledge IDE(Integrated Development Environment) like Visual Studio. We need to open the folder which contains the solution and source code. You can do that from Visual Studio Code.

OpenFolderInVisualStudioCode

Then select the src folder of your application like below.

SRCFolderApplicationinVisualStudioCode

Once you click on “Select Folder” it will open source code like below.

SourceCodeInVisualStudioCode


Now when you open any CSharp file on the right bottom you will see a text like installing OmniSharp.  OmniSharp is a set of tooling and editor integrations and Libraries that together creates great IntelliSense and  other tooling support for popular editors like Code, Sublime Text, Brackets, Atom,Emacs and Vim etc. You can find more information about that on the following link.

http://www.omnisharp.net/

Once you click on that text you can also see the progress of installation of Omnisharp libraries in output windows like below.

OmniSharpOutputWindowVisualStudioCode

Once it installed it will automatically select the project which you have in solution. If you have multiple projects then you can click on that and it will ask you to select the project for which you need all IntelliSense .

SelectApplicationInVisualStudioCode

That’s it. Now you have most of the experience that you got in Full Visual Studio and full fledge IntelliSense to all the .NET Features.

VisualStudioCodeExperience

Disclaimer: I have tested it on the windows machine and its works perfectly fine. For macOS and Linux I would expect the same. For further information, you can follow a GitHub Issue which is already created by the community. You can find that GitHub issue at the following link.

https://github.com/OmniSharp/omnisharp-vscode/issues/283

That’s it. It’s very easy to use light weight Visual Studio Code for same development experience like Full Fledge Visual Studio.
Share:
Wednesday, April 20, 2016

Visual Studio code 1.0 Released

Microsoft has released visual studio code on 1.0 version 14th April 2016. Those who have not used Visual Studio code, Visual studio code a is cross platform open source editor from Microsoft. It supports the variety of languages and you can do almost everything that you can do in an IDE. It also provides support for the debugging few languages.

In blog of Visual Studio Code, Microsoft says
Since our initial launch one year ago, 2 million developers have installed VS Code,” the Visual Studio Code team revealed. “Today, we’re excited to report that more than 500,000 developers actively use VS Code each month.
2016_04_14_header
Image source: Visual Studio code blog.

There is some important milestone that Visual studio code is received like following.
  • Visual studio code is now fully localizable and supports 9 languages
  • Visual studio supports extensions and community has built more than 1000 extensions in such a sort span
  • It now supports syntax highlighting and few more features for more than 100 languages.
  • It got more than 300+ pull request on Github.
It will be interesting to see how Visual Studio Code move ahead. I have used it for many times and I am quite happy with it.

You can find more information about it at the following link.

https://code.visualstudio.com/blogs
https://www.thurrott.com/dev/66355/microsoft-delivers-visual-studio-code-1-0

If you have not used it then I recommend you to download this and try it from the following location.
https://code.visualstudio.com/Download

That’s it. Hope you like it. Stay tuned for more!
Share:
Friday, November 27, 2015

TypeScript configurations in Visual Studio Code

Before sometime I have blogged about - Why It's the right time to learn Typescript and It does get lot of buzz. Typescript getting every day more popular due to reason I have mentioned in above blog post.  So now in this blog we are going to learn how we can use TypeScript with new Visual Studio Code editor.

TypeScript support in Visual Studio Code:


As you know Visual Studio Code is in beta now and provide great support for typescript. Here you can operate TypeScript in two modes.

1) File Scope:

In this mode Visual Studio Code will treat each typescript file as separate unit. So if you don't reference the typescript files manually with reference or external modules it will not provide intellisense as well as there will not common project context for this.

2) Explicit Scope:

In this scope we are going to create a tsconfig.json which will indicate that folder in which this file exist is a root of TypeScript project. Now you will get full intellisense as well as other common configurations on tsconfig.json file.

You can create a new file via File->New file from Visual Studio Code and add following code about TypeScript configuration under compiler operations.
{
    "compilerOptions": {
        "target": "ES5",
        "module": "amd",
        "sourceMap": true
    }
}

Converting TypeScript into JavaScript files automatically(Transpiling ):

Now as we all know that TypeScript is a super set of JavaScript and this files we can not directly put into html page. As browser will not understand the typescript itself. So we have to convert it into JavaScript. So to convert TypeScript file into JavaScript file we need to configure a in built task runner which will automatically convert all the TypeScript files into JavaScript.

To configure Task Runner you can either press F1 or Ctrl+Shift+P and type task runner. Configure Task runner will popup.

task-runner-vs-code

Once you press enter it will create a .vscode folder and create file called task.json which will have following code.
{
    "version": "0.1.0",

    // The command is tsc. Assumes that tsc has been installed using npm install -g typescript
    "command": "tsc",

    // The command is a shell script
    "isShellCommand": true,

    // Show the output window only if unrecognized errors occur.
    "showOutput": "silent",

    // args is the HelloWorld program to compile.
    "args": ["HelloWorld.ts"],

    // use the standard tsc problem matcher to find compile problems
    // in the output.
    "problemMatcher": "$tsc"
}

Now when you build your project it will create a JavaScript file automatically. Now Let's create a TypeScript file like following.
class HelloWorld{
     PrintMessage(name:string){
        console.log("Hello world:" + name);
    }
}

Here you can right now there is only one file there in explore section.

typescript-file-in-visual-studio-code

Now when you build the project with Ctrl+Shift+B. It will create a JavaScript file.

typescript-and-javascript-both-vscode

and Following is a code for the same.
var HelloWorld = (function () {
    function HelloWorld() {
    }
    HelloWorld.prototype.PrintMessage = function (name) {
        console.log("Hello world:" + name);
    };
    return HelloWorld;
})();

Hiding JavaScript File from explore area in Visual Studio Code:


I don't like my JavaScript file to show in explore area as we already have TypeScript file. So we don't have to worry about JavaScript file. There is a way to hide JavaScript file and I have to add following code in my user settings file. Which you can get it via File->Preferences->UserSetting
"files.exclude": {
"**/.git": true,
"**/.DS_Store": true,
"**/*.js":{
    "when": "$(basename).ts"
}
Here in above I have written custom filter for excluding JavaScript file when TypeScript file is present. Now it will not JavaScript file even if they exists on disk.


typescript-file-in-visual-studio-code

That's it. Hope you like it. Stay tuned for more!!. In forthcoming post we are going learn a lot of TypeScript.
Share:

Support this blog-Buy me a coffee

Buy me a coffeeBuy me a coffee
Search This Blog
Subscribe to my blog


My Mvp Profile
Follow us on facebook
Blog Archive
Total Pageviews